Lomography Experimental Lens Kit Review
Lomography Experimental Lens Kit Handling

The lenses are plastic in construction, as well as featuring plastic lenses, with just the shutter button featuring a shiny metal knob. Manual focus is performed using the focusing ring, and there is roughly 1 inch of movement from the closest focus and infinite focus making very fine adjustments quite difficult.
The switches on the lenses have varying degrees of tension, with the T switch giving the most resistance making it feel almost like you are going to break it in order to engage the switch. Pushing this all the way to the T position will fix the lens open, and then the camera can be left to set the shutter speed and ISO settings appropriately.
The other way to shoot using the lenses is to manually set the camera to a long shutter speed such as 2-4 seconds (or alternatively use the bulb mode) then press the shutter button, shooting as many shots as possible in the time frame set - this will let you take 2, 3, or more exposures. You can also set the N/B (normal / bulb) switch to bulb and when set to bulb the shutter will stay open for as long as you hold the silver knob for. Although this does mean you are shooting blind, as nothing is displayed on screen apart from the black screen.
Getting the timings, settings and composition correct for the multi-exposure can be difficult and often makes it quite hit and miss. In addition to this, using the shutter release button on the lens can result in camera shake, giving blurred photos. Two of the filters provided are ND filters, to help multi-exposure shots in bright sunlight.
To get faster (or fast enough) shutter speeds you will need to raise the ISO setting, and in use we found we were often using ISO3200, which on the Olympus OM-D E-M5 is a reasonable ISO setting to use, but on older Micro Four Thirds cameras you may not want to use such a fast ISO speed, which may result in you wishing for a tripod, particularly in low light.
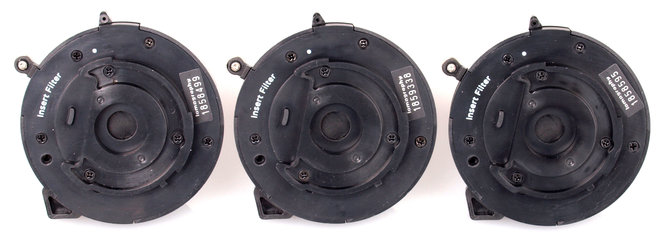
Build quality of the lenses is reasonable, although the modified lens mount needed to accept the filters does make it slightly more awkward to attach the lenses to the camera, however as long as you line up the dots correctly then you shouldn't have any problems. It would be nice if the dot was on the side, rather than underneath the lens, instead the dot lines up with the letter 'N'.

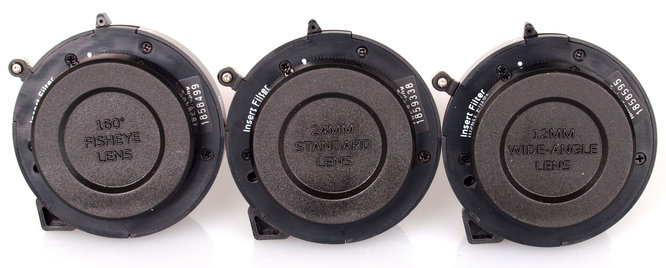
Each lens is provided with its own rear cap, which is labelled so that you can identify which lens to choose, assuming you put them on the correct lens in the first place. Alternatively if you familiarise yourself with the colour of the lens ring on the front, you can quickly get used to the fisheye being green, the 12mm blue, and the 24mm lens being beige/gold coloured.

Add your message
Login required
Please login here or if you've not registered, you can register here. Registering is safe, quick and free.
Please login here or if you've not registered, you can register here. Registering is safe, quick and free.
photodo Stats
1102 lenses
428 MTF tests
74 in-depth photodo reviews
100+ users join each day
Help the lens community by reviewing or rating a lens today via our lens search
428 MTF tests
74 in-depth photodo reviews
100+ users join each day
Help the lens community by reviewing or rating a lens today via our lens search
Latest Lens Reviews
- Chinon 28mm f/2.8 Vintage Lens Review
- Canon EF 70-200mm f/4L IS II USM Lens Review
- Samyang AF 85mm f/1.4 EF Review
- Sigma 70mm f/2.8 DG Macro Art Review
- Samyang AF 24mm f/2.8 FE Review
- Meike 50mm f/1.7 Review
- Tamron 70-210mm f/4 Di VC USD Review
- Lensbaby Burnside 35mm f/2.8 Review
- Asahi Super Takumar 50mm f/1.4 Review
- Asahi Super-Multi-Coated Takumar 135mm f/3.5 Review
