Close-up photography technique
Photos Peter Bargh
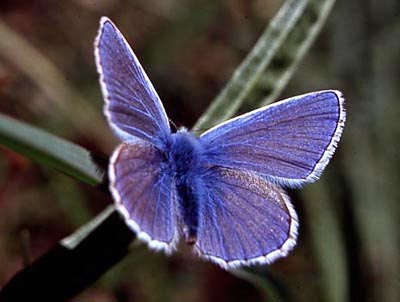 |
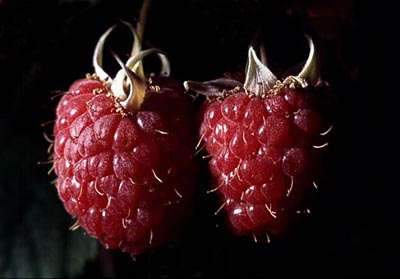
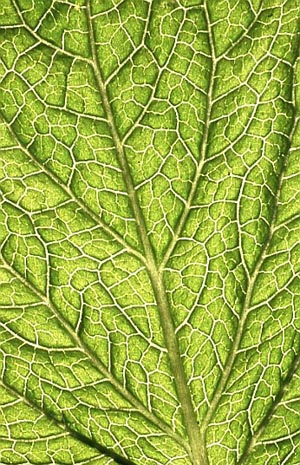
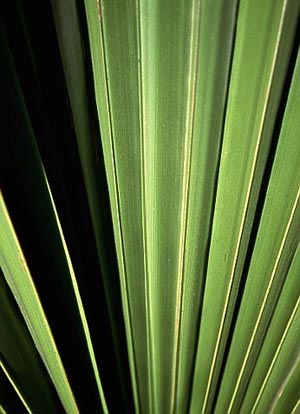
| Try your hand at close-up and macro photography - and once you develop an eye for this kind of work you'll see new images everywhere you look. Nature, for instance, provides many opportunities for the close-up enthusiast, from insect life to the flowers and foliage of plants. You can fill the frame with a butterfly, or create an abstract study out of a leaf. Man-made creations can be equally photogenic. Just think of the multiplicity of materials things are made from, their various patterns and textures, along with the myriad of colours used. |
 |
| But before we get too carried away, let's start by defining our terms. What exactly is the difference between a close-up and a macro photograph? It's all to do with the reproduction ratio, which is a way of describing the relationship between the actual size of the subject and the size that it appears on film. If the film image is the same size as the subject, then the reproduction ratio is said to be 1:1, or life-size. If the image is twice the size, it's a 2:1 ratio. And if the image is half the size, it's a 1:2 ratio. Another way of expressing the reproduction ratio is in terms of magnification. If something is magnified four times, it will appear four times bigger on film than in real life - ie a 4:1 ratio - and is often written 4X. Close-Up Photography is where the reproduction ratio is from 1:10 to 1:1 - ie from 1/10th life-size to life-size. Macro Photography is where the reproduction ratio is from 1:1 to 10:1 - ie from life-size to ten times life-size. And, for the record, Micro Photography is where the reproduction ratio is greater that 10:1 - ie greater that 10x life-size. In practise the distinction is academic. It's the picture alone which is really important. |
 |
| Gear Matters |
 |
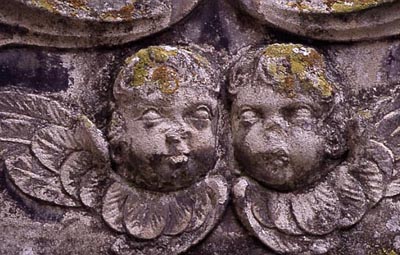
| For larger magnification you will need some kind of accessory, and one of the best ways to start is buy investing in a close-up lens, sometimes incorrectly called a close-up filter. This fits in front of the lens and reduces the close-focusing distance. A +3 lens is ideal for general close-up photography. Want to go bigger still? Then check out the various accessories that fit between the camera body and lens. Because they increase the subject-to-film distance they give greater magnification. Most readily available are Extension Tubes that produce images of the highest possible quality because they contain no glass. |
 |
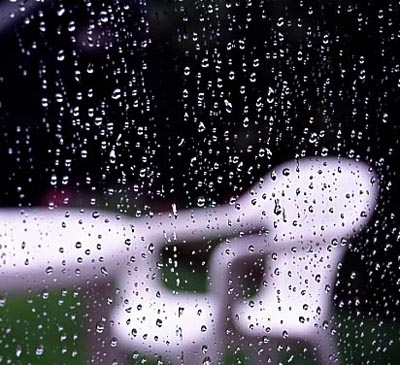
| Bellows, like extension tubes, fit in-between the lens and the camera body, but have the advantage of being infinitely variable, and can be extended to give typically up to x4 magnification. However, they're rather more difficult to work with, and really only for the macro enthusiast looking for big magnifications. |
 |
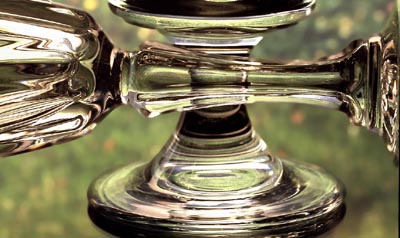
| There is also a fascinating variety of adapters on the market that allow you to make the most of your existing lenses. A reversing ring lets you mount a lens back to front, while a coupling ring allows you to fit two lenses back to back, connected by their filter threads. Both may be unorthodox solutions, but they're very effective, and give a reproduction ratio of around 1:1. The only disadvantage is that you sever all the electrical connections between the lens and the body, which means that focusing and exposure calculations may have to be done manually, depending upon your camera system. |
 |
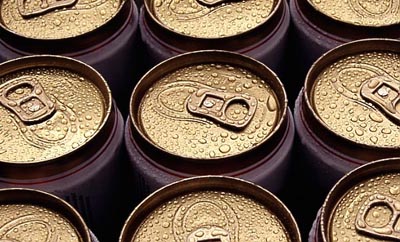
| Finally, if you get serious about close-up work you'll eventually want to buy a proper macro lens. These are designed specifically for close-up and come in two distinct focal length ranges: 90/105mm and 50/55mm, and give either half-life-size or life-size reproduction. The advantage of the 90/105mm lenses is that they offer a greater lens-to-subject working distance. |
 |
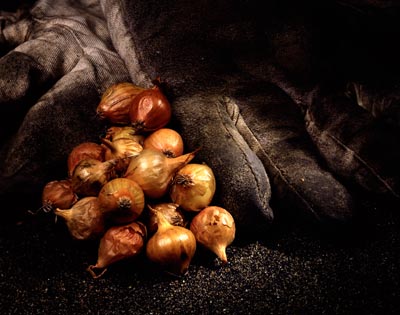
| Close-up Techniques It's also useful when shooting close-up and macro photographs to use a tripod and a cable release - so as to maximise depth-of-field, avoid camera-shake, and ensure accurate focusing. Maximising depth-of-field, by setting an aperture of f/16 or smaller, is important because the closer you get to your subject the more limited depth-of-field becomes. At a larger aperture, such as f/5.6, parts of the subject will almost certainly be out-of-focus. But as soon as you start setting small apertures you'll see your shutter speeds start to tumble. Even on a sunny day the best shutter speed you could hope for using ISO 100 film at f/16 is 1/60sec - and if you're hand-holding that brings an unnecessary risk of camera-shake. Anchor your camera firmly, though, and your shutter speeds can be as long as you like. |
 |
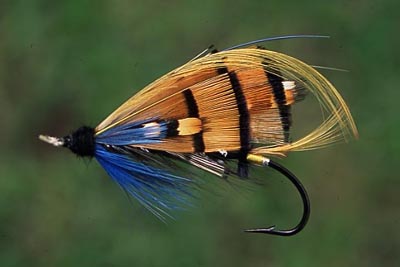
| Using a tripod also makes it easier to ensure accurate focusing. Even at a small aperture you may only have a few millimetres of depth-of-field in front of and behind the point on which you focus - and the natural sway of the body when hand-holding can easily take you outside that, and leave you with an unsharp image. You'll also find it easier, if you have an autofocus camera, to switch to manual focusing. Camera-shake may not be a problem once you use a tripod, but subject movement can be. Sometimes the things you're photographing can move as well. Insects especially are little blighters, flitting hither and thither, and generally making your life hell. Nor are flowers an easy touch, with the slightest breeze blowing them out of focus. So what do you do? Well in the case of flowers, you can always try erecting a kind of wind break to protect them, but won't bring any benefit with butterflies and the like. One option is to load up with a faster film. ISO 400 film gives two stops more sensitivity, allowing you faster shutters speeds - but most will find the resulting inferior grain, sharpness and colour too great a price to pay. An easier solution is to use electronic flash. It's reliable and repeatable, freezes any subject movement, and even a modestly-powered gun will provide the additional benefit of a small aperture for plenty of depth-of-field. |
 |
| Unfortunately, though, you won't be able to use the flashgun on the camera. At best you'll get uneven coverage, and at worst end up with dark areas where the lens has blocked the light. So you'll need a gun you can hold to one side, connected to the camera by means of a flash lead. Working a close quarters can cause some Auto guns to output the wrong amount of light, so the best way of working is to switch to manual operation. To determine the working aperture, simply divide the flashgun's Guide Number. So if you use a medium-powered gun with a GN of 32m/ISO100 at a distance of 1m, the aperture would be f/32 (321=32). If you have a powerful gun, or want to bring it closer to your subject, you may find it necessary to use it at a proportional output setting (1/2, 1/4, 1/8 etc) to get a workable aperture. |
| If you're using extension tubes or bellows you may need to do some tests to account for the exposure increase by shooting a few frames first. A better solution, if you get serious about close-up photography, is to buy a ringflash, which is a special kind of flashgun with a circular tube that screws into the front element of your lens. This gives soft, even lighting, and makes shooting macro subjects a doddle. |
Add your message
Please login here or if you've not registered, you can register here. Registering is safe, quick and free.
photodo Stats
428 MTF tests
74 in-depth photodo reviews
100+ users join each day
Help the lens community by reviewing or rating a lens today via our lens search
Latest Lens Reviews
- Chinon 28mm f/2.8 Vintage Lens Review
- Canon EF 70-200mm f/4L IS II USM Lens Review
- Samyang AF 85mm f/1.4 EF Review
- Sigma 70mm f/2.8 DG Macro Art Review
- Samyang AF 24mm f/2.8 FE Review
- Meike 50mm f/1.7 Review
- Tamron 70-210mm f/4 Di VC USD Review
- Lensbaby Burnside 35mm f/2.8 Review
- Asahi Super Takumar 50mm f/1.4 Review
- Asahi Super-Multi-Coated Takumar 135mm f/3.5 Review
